HOME PAGE | < Previous | Contents | Next >
Description | Q'ty | |
38 | CD-ROM: Operation Instruction - App 2 Me (-57, -58, -67, -69, -59) | 1 |
39 | Quick Reference Guide - App 2 Me (-57, -58, -69, -59) | 1 |
40 | Quick Reference Guide – Start Up (-27, -67) | 1 |
41 | Sheet – Notes – Manual – CD (-19, -59, -21, -61) | 1 |
Installation
Installation
Installation
2.3.2 INSTALLATION PROCEDURE
Preliminary Procedures
Put the machine on the paper feed unit or the LCT first if you will install an optional paper feed unit or the optional LCT at the same time. Then install the machine and other options.
![]()
Keep the shipping retainers after you install the machine. You may need them in the future if you transport the machine to another location.

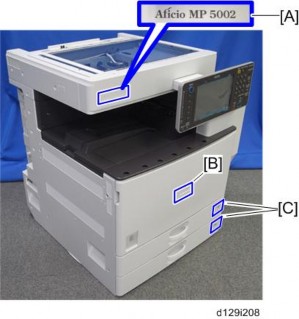
1. Remove all the tapes and retainers on the machine.
2. Remove all the tapes and retainers in trays 1 and 2, and then take out the power cord from tray 1 (if applicable).
Main Machine Installation
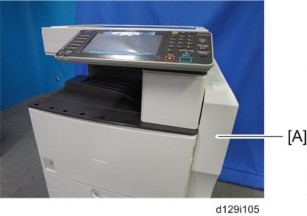
3. Open the right door [A].
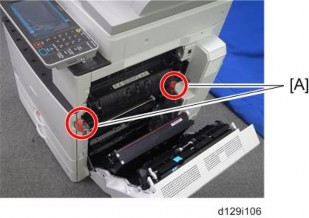
4. Remove the two stoppers [A] from the fusing unit.
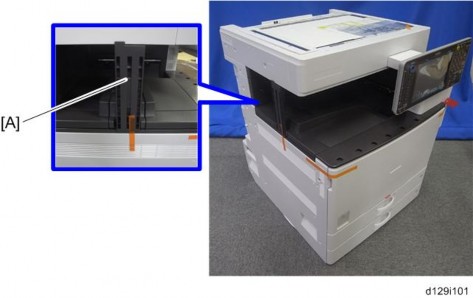
5. Remove the scanner unit stay [A].
Main Machine Installation
Installation
Installation
Installation
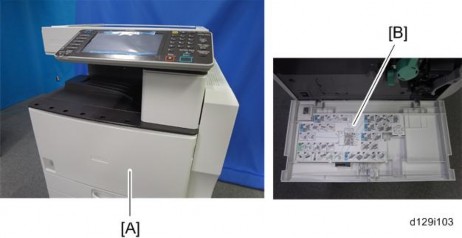
6. Open the front door [A], and then remove the jam location sheet [B].
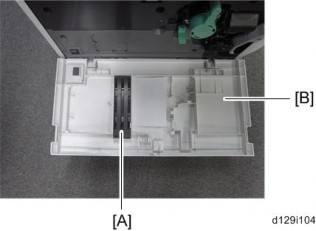
7. Keep the scanner unit stay [A] inside the front door [B].
8. Reattach the jam location sheet.
9. Close the front door.
