HOME PAGE | < Previous | Contents | Next >
It is not necessary to specify the color of the toner, though yellow toner is used in the above example.
7. Attach the image transfer cleaning unit.
8. Rotate the image transfer belt about 10mm [A] in the reverse direction, then turn it forward one complete turn [B].
4.11.3 IMAGE TRANSFER BELT
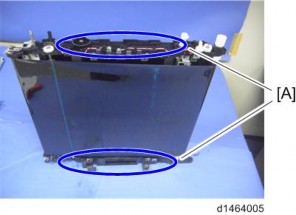
Do not touch the rollers but hold the upper/lower resin part [A] when you lift the Image Transfer Unit. Touching the rollers may cause poor image quality.
1. Image transfer belt unit (page 4-71)
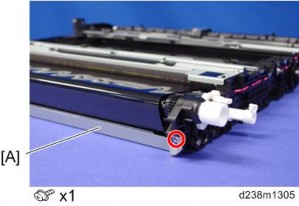
2. Bracket [A]
Replacement and Adjustment
Replacement and Adjustment
Replacement and Adjustment
Image Transfer Unit
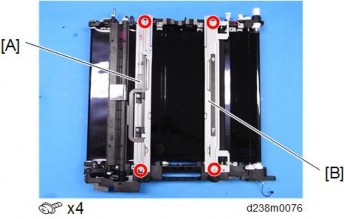
3. Brackets [A] [B]
4. Image transfer cleaning unit (page 4-75)
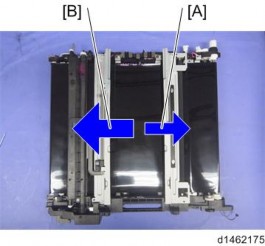
5. Remove the tension fixing frames [A] and [B] (front side: black, rear side: gray).
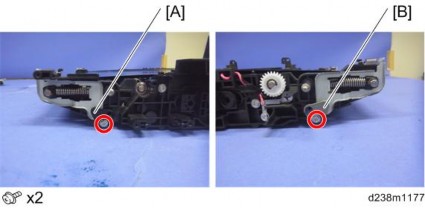
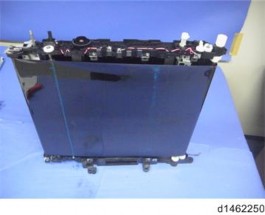
6. Position the image transfer unit with the front side underneath.
Image Transfer Unit
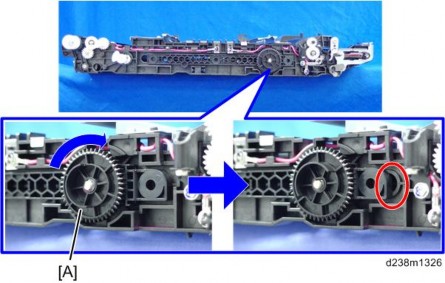
7. Rotate the gear [A] to change to the OPEN position.
The part in the red circle opens.
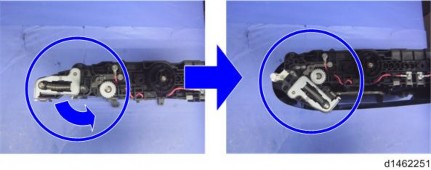
8. Release the tension, and remove the belt.
Replacement and Adjustment
Replacement and Adjustment
Replacement and Adjustment