HOME PAGE | < Previous | Contents | Next >
What to Do before Replacing the Image Transfer Cleaning Unit
Before replacing the Image Transfer Belt Cleaning, set SP3-701-102 to "1" and switch the power OFF.
Then replace the Image Transfer Belt Cleaning and switch the power ON.
SP3-701 (Manual New Unit Set)
This SP is the new unit detection flag.
0: new unit detection flag OFF, 1: new unit detection flag ON
Item | SP |
Image Transfer Cleaning Unit | SP3-701-102 |
Replacement
1. Image transfer belt unit (page 4-71)
2. Image transfer lock unit [A]
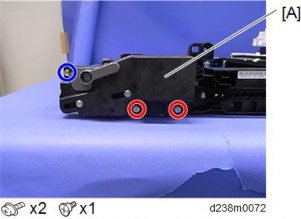
3. Remove the screws above the image transfer cleaning unit [A].
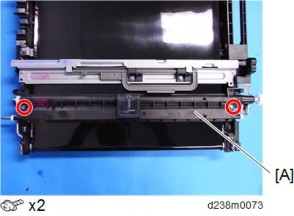
Image Transfer Unit
Replacement and Adjustment
Replacement and Adjustment
Replacement and Adjustment
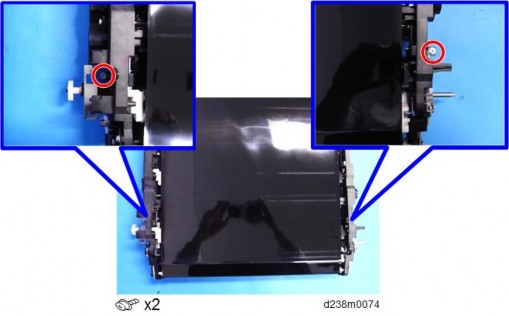
4. Turn the whole image transfer belt unit over, and remove the screws below the image transfer cleaning unit.
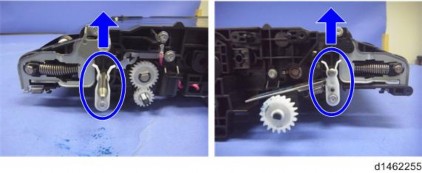
5. While releasing the hook, lift the image transfer belt unit gently, and remove the image transfer cleaning unit.
6. Put toner on the image transfer belt.
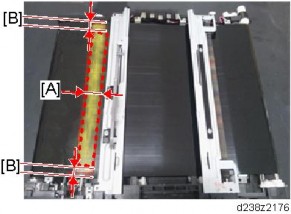
[A]: 20mm or more [B]: About 5mm