HOME PAGE | < Previous | Contents | Next >
Replacement and Adjustment
Replacement and Adjustment
Replacement and Adjustment
4.5 SMART OPERATION PANEL
This section explains how to remove the Smart Operation Panel from the machine. For details about disassembling the Smart Operation Panel, See the service manual for Smart Operation Panel 2nd Generation.
4.5.1 OPERATION PANEL UNIT
1. Scanner front cover (page 4-33)
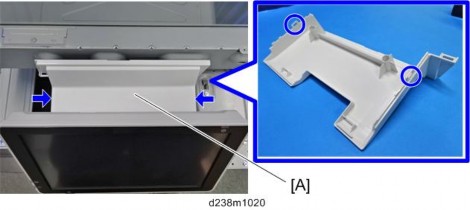
2. Holding down both the sides of the operation panel upper cover [A], unhook the tabs (indicated by blue circles) and remove the cover.
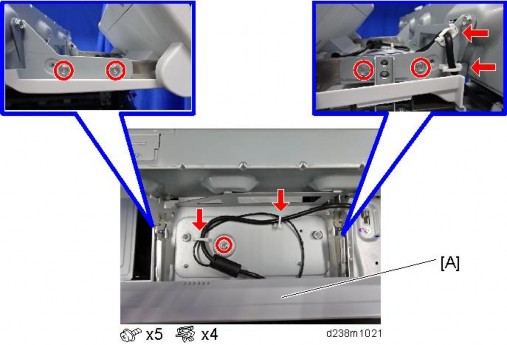
3. Operation panel [A]
4. Open the platen cover or ADF.
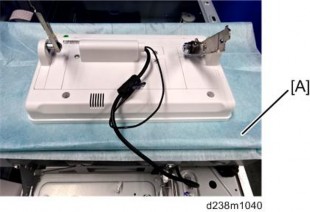
5. Spread a cloth or service mat [A] on the exposure glass to protect the display. Place the operation panel on the exposure glass so that the display faces down.
Smart Operation Panel
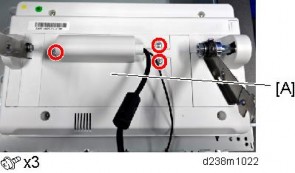
6. Rear center cover [A]
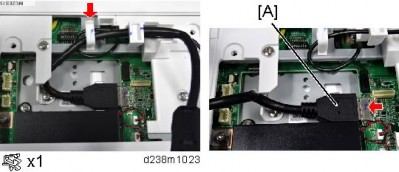
7. Disconnect the USB cable [A].
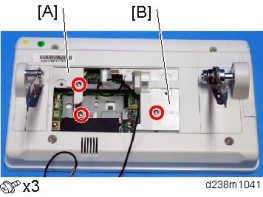
8. Left small cover [A], right small cover [B]
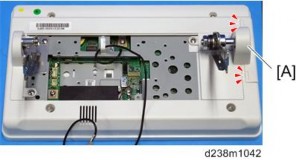
9. Right hinge cover [A] (Hook x 2)
Smart Operation Panel
Replacement and Adjustment
Replacement and Adjustment
Replacement and Adjustment
10. Left hinge cover [A], right cover [B]
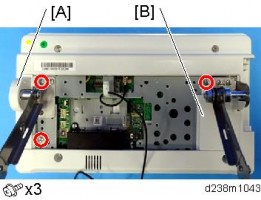
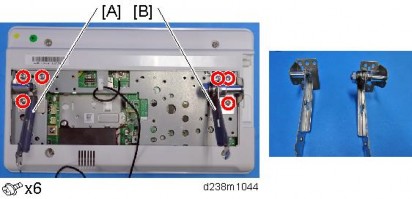
11. Hinges [A] [B]
