HOME PAGE | < Previous | Contents | Next >
Vertical Streaks on Copies due to Scanning Problems
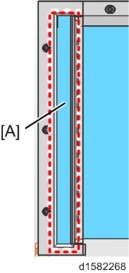
9. Turn the main switch on.
10. Start the SP mode.
11. Select SP4-688-001 (DF Density Adjustment ARDF) and change the setting from "106" to "103" for the contact scanning.
12. Change the DF magnification (SP4-871-003) from [0.11%] to [0.00%].
When returning the setting back to non-contact scanning, return the SP values also.
Converting the SPDF3100 to Contact Scanning
1. Open the SPDF and exchange the entrance lower guide unit [A] to a non-contact type part.
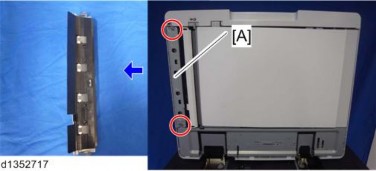
Entrance lower guide unit for non-contact transport: The following areas are black [A].
Entrance lower guide unit for contact transport: The following areas are clear and colorless [B].
Troubleshooting
Troubleshooting
Troubleshooting
Vertical Streaks on Copies due to Scanning Problems
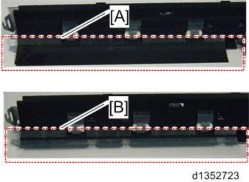
2. Exchange the scanning guide plate [A] to a non-contact type part (hook x 1).
[A] : The color of the marker of the non-contact type scanning guide plate for this machine is gray.
[B]: The color of the marker of the contact type scanning guide plate for this machine is white.
[C]: The color of the marker of the non-contact type scanning guide plate for previous machine is black.
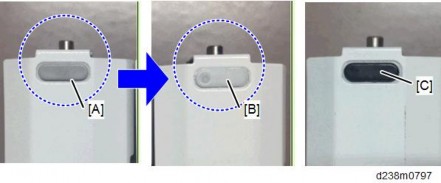
3. Attach the scanning guide plate for contact transport [A] (hook x 1).
4. Attach the entrance lower guide unit for contact transport [B] ![]() x 2).
x 2).
Vertical Streaks on Copies due to Scanning Problems
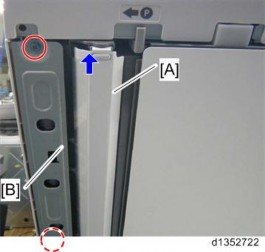
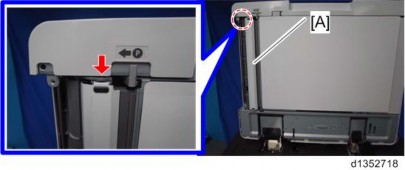
5. Peel off the gap sheet [A] from the DF exposure glass with your hands.
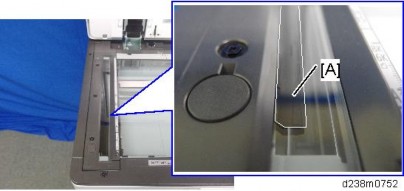
6. Clean the DF exposure glass [A] with alcohol.
To avoid paper jams, make sure adhesive is completely removed.
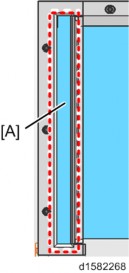
7. Enter the SP mode.
8. Change SP4-688-002 (Scan Image Density Adjustment 1-pass) from "101" to "96".
9. Change the DF magnification (SP4-871-003) from [0.11%] to [0.00%].
When returning the setting back to non-contact scanning, return the SP values also.