HOME PAGE | < Previous | Contents | Next >
5.13 CARD SAVE FUNCTION
5.13.1 OVERVIEW
Card Save:
The Card Save function is used to save print jobs received by the printer on an SD card with no print output. Card Save mode is toggled using printer Bit Switch #1 bit number 4. Card Save will remain enabled until the SD card becomes full, or until all file names have been used.
Captures are stored on the SD card in the folder /prt/cardsave. File names are assigned sequentially from PRT00000.prn to PRT99999.prn. An additional file PRT.CTL will be created. This file contains a list of all files created on the card by the card save function.
Previously stored files on the SD card can be overwritten or left intact. Card Save SD has "Add" and "New" menu items.
Card Save (Add): Appends files to the SD Card. Does not overwrite existing files. If the card becomes full or if all file names are used, an error will be displayed on the operation panel. Subsequent jobs will not be stored.
Card Save (New): Overwrites files in the card's /prt/cardsave directory.
Limitation:
Card Save cannot be used with PJL Status Readback commands. PJL Status Readbacks will not work. In addition they will cause the Card Save to fail.
5.13.2 PROCEDURE
1. Turn OFF the main power.
2. Insert the SD card into slot 2 (lower), then turn ON the main power.
3. Enter SP mode.
4. Select the "Printer SP".
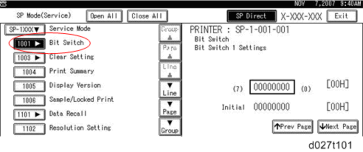
5. Select SP-1001 "Bit Switch".
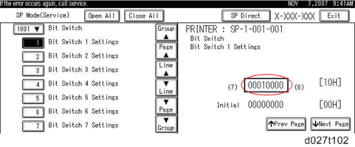
6. Select "Bit Switch 1 Settings" and use the numeric keypad to turn bit 4 ON and then press the "#" to register the change. The result should look like: 00010000. By doing this, Card Save option will appear in the "List/Test Print" menu.
Card Save Function
System Maintenance
System Maintenance
System Maintenance
7. Press "Exit" to exit SP Mode.
8. Press the "User Tools" icon > "Machine Features".
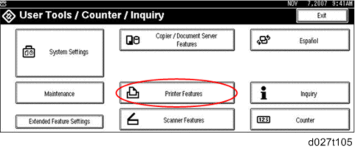
9. Select "Printer Features".
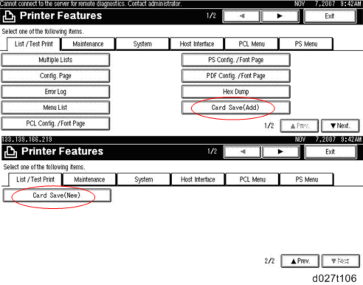
10. Card Save (Add) and Card Save (New) should be displayed on the screen. Select Card Save (Add) or Card Save (New).
11. Press "OK" and then return to Home screen.
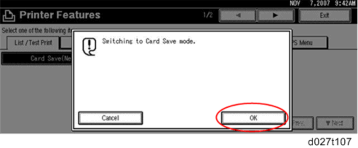
Card Save Function
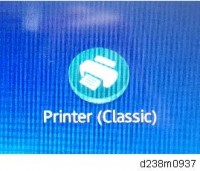
12. Press the "Printer (Classic)" icon.
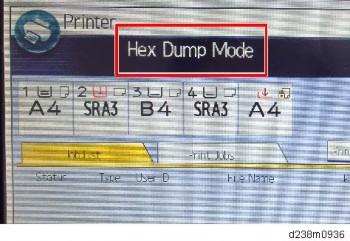
13. "Hex Dump Mode" is be displayed in the top left of the display panel.
14. Send a job to the printer. The Communicating light should start blinking.
15. As soon as the printer receives the data, it will be stored on the SD card automatically with no print output.
Nothing is displayed on the screen, indicating that a Card Save operation was successful.
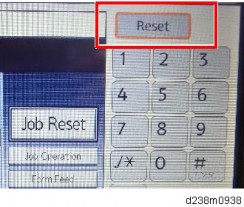
16. Press "Reset" to exit Card Save mode.
17. Change the Bit Switch Settings back to the default 00000000, then press the "#" in the numeric keypad to register the changes.
18. Remove the SD card after the main power switch is turned OFF.