HOME PAGE | < Previous | Contents | Next >
Booklet Finisher SR3170 (D688)/ Finisher SR3160 (D689)

2.15.2 INSTALLATION PROCEDURE
![]()
When you install this option, turn off the power to the machine, and unplug the power plug from the wall socket.
If it is installed when the power is on, it will result in an electric shock or a malfunction.
![]()
Before installing this option, attach the “Bridge Unit BU3070” first.
Attach the “LCIT PB3170” or “Paper Feed Unit PB3160” first before installing this option.
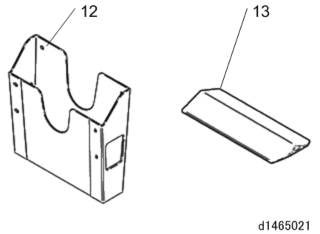
1. Remove the external orange tape and shipping retainers.
Installation
Installation
Installation
Booklet Finisher SR3170 (D688)/ Finisher SR3160 (D689)

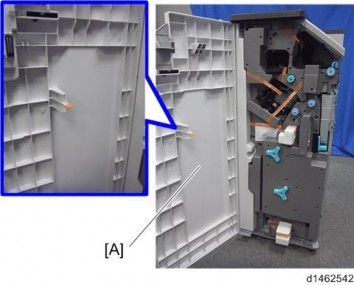
2. Open the front cover [A], and remove the orange tape and shipping retainers.
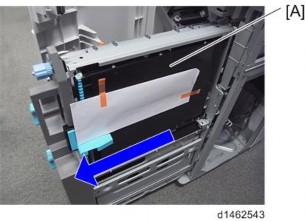
3. Pull out the saddle stitch unit [A] or stapling unit, and remove the orange tape and shipping retainers.
Booklet Finisher SR3170 (D688)/ Finisher SR3160 (D689)
4. Remove the items in the package (fixing screws, etc.).
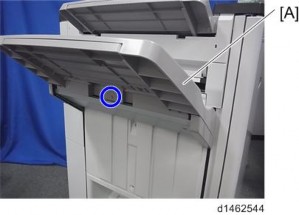
5. Attach the shift tray [A] ![]() ×1).
×1).
6. SR3170 only: Attach the extension [B] to the booklet tray ![]() ×1) ,and attach the booklet tray [A]
×1) ,and attach the booklet tray [A]

7. Attach the relay guide plate [A] ![]() ×2).
×2).
Booklet Finisher SR3170 (D688)/ Finisher SR3160 (D689)
Installation
Installation
Installation
8.
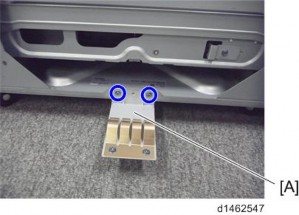
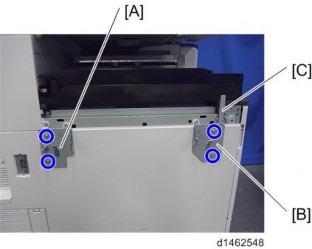
9. Attach the connecting brackets [A], [B] to the machine ![]() ×4).
×4).
At this time, tighten the bracket [B] and bracket [C] of the bridge unit together.
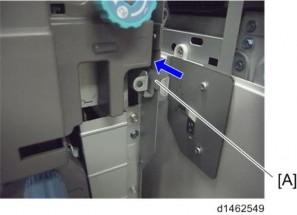
10. Connect the finisher to the machine with the connection lever [A] ![]() ×1).
×1).
Booklet Finisher SR3170 (D688)/ Finisher SR3160 (D689)
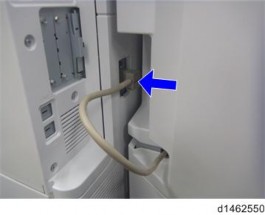
11. Connect the interface cable to the machine.
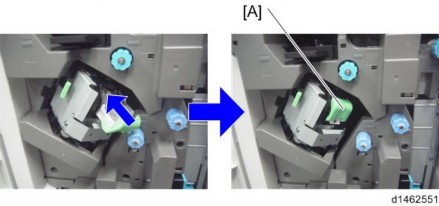
12. Set the stapler [A].
13. Turn the power switch on.
14. Check that the finisher can be selected on the operation panel, and check the finisher’s operation.